From Trash to Fresh: Extraordinary Ways to Upcycle Clothes into Fashion Statements
By the Fashive Team
Table of Contents
In the world of fashion, for businesses with in-house production, there is bound to be unused material. It’s definitely a waste to throw them away, yet these leftover materials are meagerly insufficient to be used for the next project. In the case of a small time fashion business, every penny counts. This means that every inch of material matters. What then, can be done to ensure maximum yield and minimal waste?
In an era of rising environmental concerns, the world is shifting its focus to sustainable alternatives. Sustainable fashion is gaining momentum within the industry as brands become more conscious about how the linear fashion model is destructive towards the environment.
This new model of circular fashion could be the key to greater sustainability for both profits and the environment. How so? When you upcycle clothes, material cost can be substantially reduced.
What is Upcycling?
Upcycling in the fashion context refers to a creative process of reinventing unwanted clothes into new products.
For fashion hobbyists, how can you save costs by upcycling old garments? Consider the following: Do you have a pair of jeans you can no longer fit abandoned at the back of your cold, dark closet? Perhaps there is a beloved maxi skirt that is too loose for your waist? Maybe there is a t-shirt that has a stubborn stain you can’t get rid of?
Instead of discarding your old clothes, why not look at sustainable ways to breathe new life into rugged threadbare clothing? By upcycling unwanted clothing, not only will you be doing your part to save our environment, but you can also contribute to the circular fashion economy movement.
So how do we do our part? What equipment do we need to kickstart the process of upcycling?
Skills needed in upcycling clothing
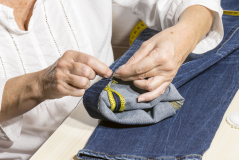
Certain upcycling techniques require basic sewing skills, such as seaming and stitching, while others involve specific types of equipment such as the eyelet plier. For instance, common techniques involve cutting, lacing and re-dying your clothing, yet basic fashion tools remain invaluable assets.
Upcycling T-shirts: A Basic Example
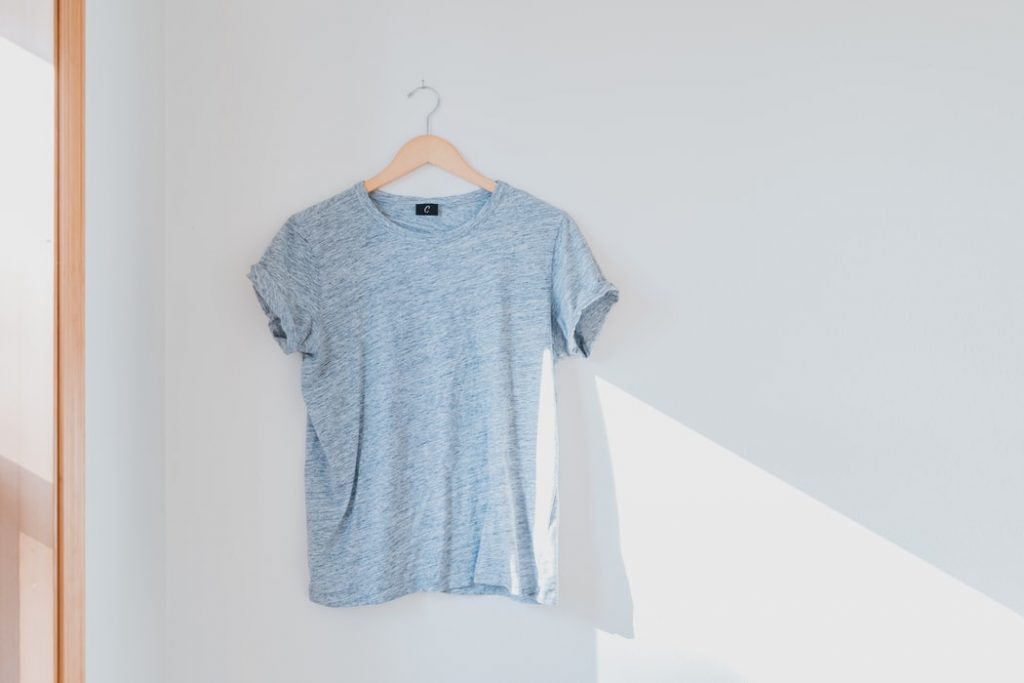
To illustrate, we’ll showcase examples using the most common piece of clothing, the t-shirt. A basic piece of clothing that’s sitting in everyone’s closet, t-shirts are extremely versatile to pair with any outfit. It’s simple, comes in different shades of colours and you can wear it as it is or match it up with outerwear, the possibilities are basically endless!
However, due to its simplicity, it tends to get boring even with the variety of colours or graphic prints. After all, the fundamental structure of a t-shirt remains the same, no matter how you look at it.
What can we do then, to spice up an old t-shirt through upcycling? There are a few ways of transforming a t-shirt, these include:
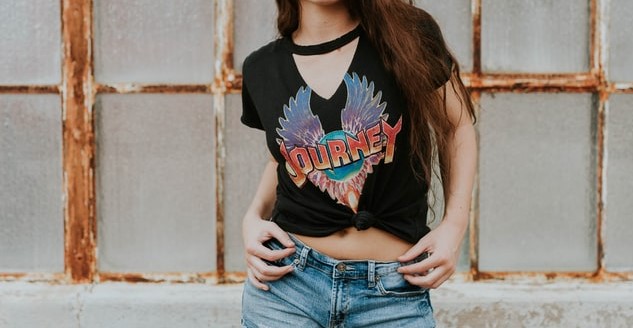
1. Transforming your t-shirt into a cropped top
2. Creating a choker cutout t-shirt
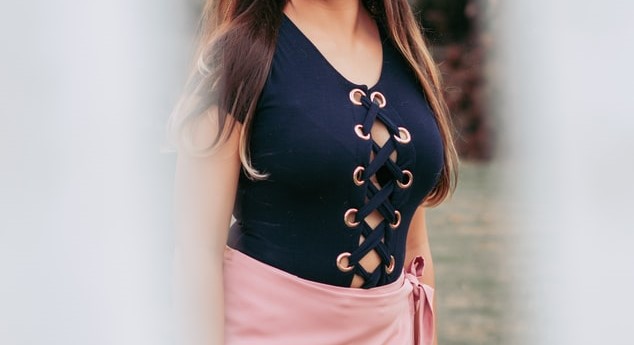
3. Spicing it up with laces
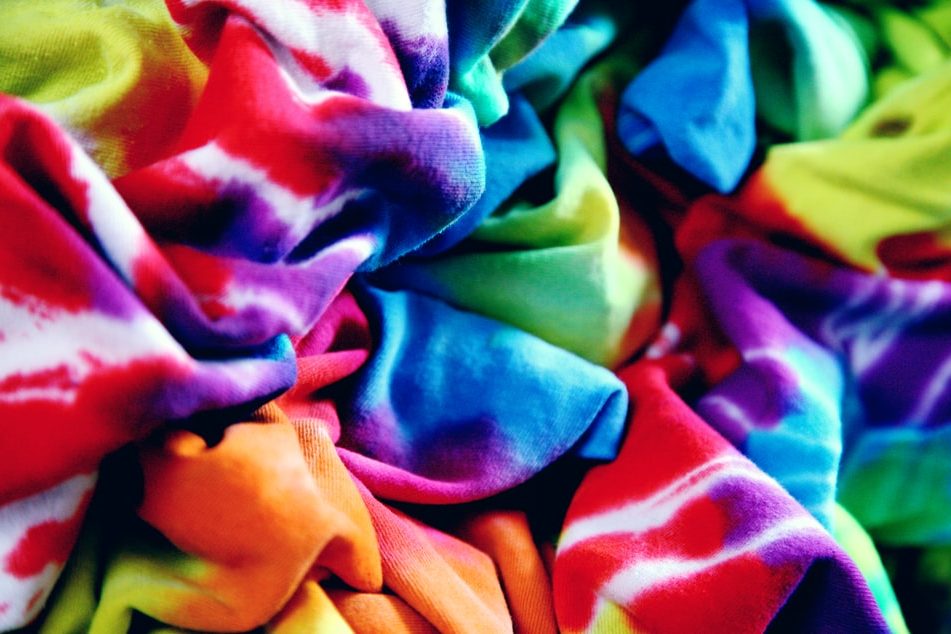
4. Tie-dying for a vibrant fit
5. Using t-shirts as spare cloth for accessory making
6. Creating masks for a functional alternative
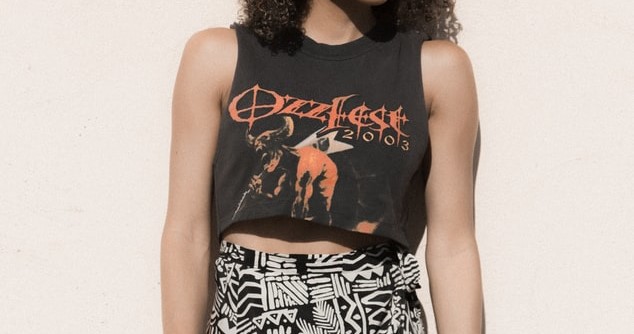
Upcycle your t-shirt by transforming it into a cropped top
Cropped tops are especially popular today! You can jump on the cropped top bandwagon by converting a graphic tee, allowing you to leverage its unique prints.
Upcycling clothes into crop tops
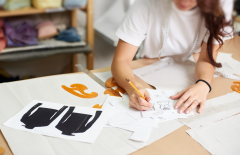
Step 1: Measure the length that you would like to snip off. Make sure your markings are equal on the sides, front and back so you won’t end up with an uneven cut!
A good understanding of apparel drawing will be beneficial in getting the right measurements for the perfect finish!
Step 2 (Optional): If you would like to make it sleeveless, cut along the armhole seams.
Step 3 (Optional): Make sure you leave some allowance on the edge to sew the seams for the finishing touch.
Fashive tip: For a rugged look, you can choose not to sew the bottom for the ragged frills! Not only will a unique look add to your wardrobe variety, you can mix things up by spicing your style!
Choker Cutout T-shirt
To enhance your t-shirt further, you can customise your neckline as well!
Steps to upcycle a choker cut-out t-shirt
Step 1: Mark out the section you would like to cut out. Make sure that it’s symmetrical!
Step 2: Grab the collar of your T-shirt and begin to cut below the neckline. And voila! You would have created a unique look with a simple piece.
Step 3 (Optional): If you would like to dazzle your choker cutout t-shirt further, consider lacing it up! How do we lace a t-shirt up though? Well, just jump to the next segment for detailed instructions!
Laced-up T-Shirt
Lacing will take more steps as it requires precision and an additional tool – eyelet pliers.
Steps to upcycle a laced up t-shirt
Step 1: Mark out the segment of your t-shirt you would like to cut and make sure that the length between the eyelets is equal.
Step 2: Once you are satisfied, make a straight cut in the middle from top to bottom.
Step 3: Sew the seams on both sides to prevent fraying.
Step 4: Next, use the eyelet plier to add the eyelets into the desired place.
Step 5: To finish up, you can use any material that you like to knot the eyelets together.
Fashive tip: Not sure which material to use for your knots? Go for a satin weave if you would like a softer look or simply use the leftover cloth that was cut out for a uniform finish!
Upcycle your clothing with tie-dyeing techniques!
Are you looking for a colourful alternative? Tie-dyeing your t-shirts is the way to go!
Before you start, keep these things in mind:
1. Cotton is the best fabric for your tie-dye projects as they absorb and hold dye really well.
2. It is going to be messy, so make sure you wear gloves and cover your workspace to prevent stubborn stains!
3. Wash your dyed t-shirt in a stainless steel sink as glass and plastic sinks will stain from the dye.
Steps on upcycling your clothing through the use of tie-dyeing
Step 1: First, mix the dye solution according to the instructions listed on your kit.
Step 2: Once mixed, prepare your fabric by tying it with rubber bands. The way you tie will determine the pattern that appears on your t-shirt, so plan in advance!
Step 3: Once you tie up your t-shirt, dip or pour it into the dye solution. For a darker tone, leave it in the solution for a longer time.
Step 4 (Optional): You can repeat the steps for additional colours.
Step 5: Once you are satisfied with the result, rinse the dyed t-shirt until the water is void of colour.
Step 6: For the last step, wash your newly dyed t-shirt with cold water in the washing machine, do not mix it with other laundry to avoid stains!
Accessories
Some clothes may seem damaged beyond repair due to stains, tears or they just no longer fit. However, some parts of the clothing can be salvaged and converted into smaller ornaments. Or, you may consider utilising spare cloth for bigger projects.
Masks
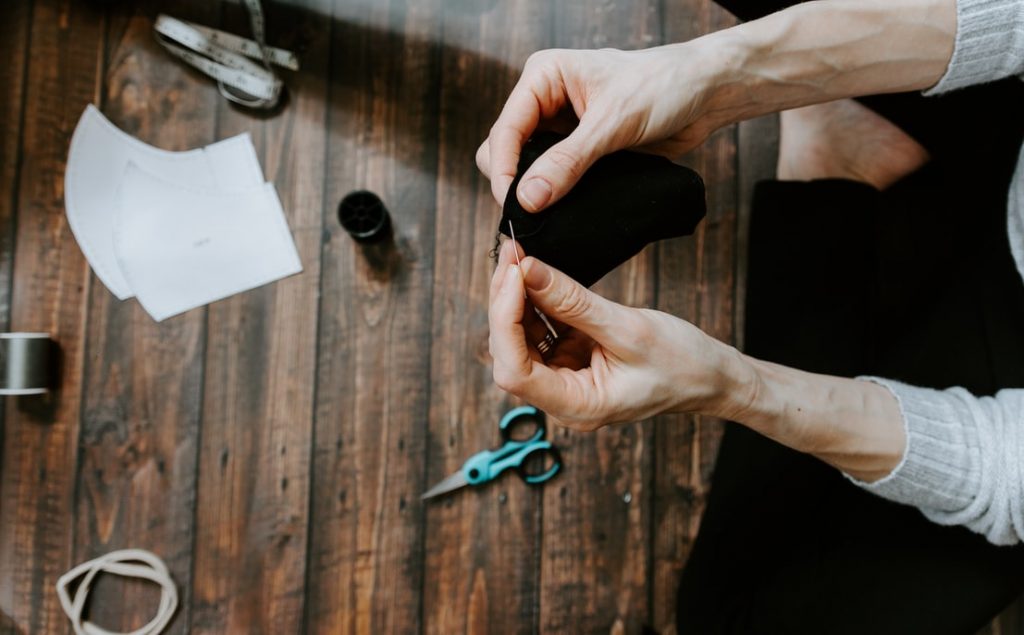
Masks have become an integral part of our outfit due to the COVID-19 pandemic. Instead of constantly spending money on boxes of disposable masks, why not upcycle your old t-shirts into beautiful, eco-friendly homemade masks? You can save costs, recycle your old clothes and do your part to stop the virus from spreading.
Check out the World Health Organisation (WHO) for the recommended fabrics. T-shirts made from tightly woven cotton is one of the approved options.
How to upcycle clothes into a face mask
Step 1: You can start by marking a diameter of 25cm to 28cm (For adults) and cut accordingly.
Step 2: When you are done cutting, fold the cloth in half and cut it.
Step 3: With the exterior facing each other, sew the curve side together.
Step 4: Once sewed, open it up and fold it to the other side and it will have the shape of a mask. Sew the other opening.
Step 5: Once done, flip the exterior out and fold both horizontal sides. On each side, leave a tiny gap to put the strings and sew them.
Step 6: Lastly, insert the strings into each hole before tying a knot.
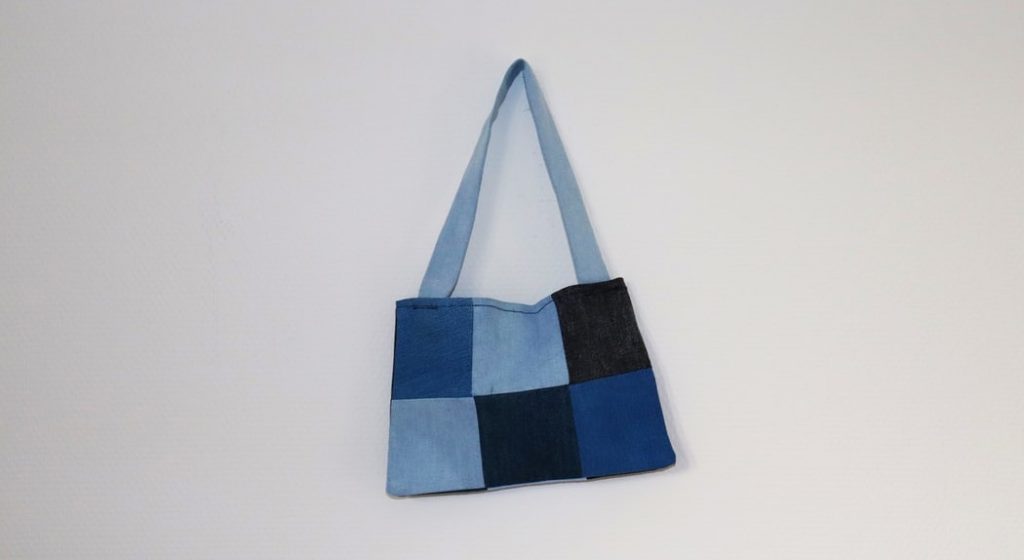
Upcycle leftover cloth into tote bags
Tote bags are extremely functional in many settings. Going to the grocery store? Say no to plastic bags by bringing your own tote bag.
Need extra space to carry excess baggage? Use a tote bag! Tote bags are extremely functional in many settings. They are spacious, durable and flexible. Most importantly, they can be upcycled!
In fact, grocery stores are encouraging consumers to bring their own tote bags. They are spacious, durable and flexible. Most importantly, they can be upcycled!
How to transform your old t-shirt into a tote bag
Step 1: First, remove the sleeves and cut off the neckline.
Step 2: Turn the shirt inside out and sew the bottom edge of the t-shirt together so the seams will not be shown.
Step 3 (Optional): Feel free to add any embellishments such as badges, patches or embroideries for a customised touch!
Conclusion
By combining creativity and resourcefulness, you can turn the clothes buried in your wardrobe into fashion statements. So the next time you clean out your closet, think of the potential it can become with some DIY magic!
At Fashive, we provide courses that can support you in your upcycling journey. Take a look at our basic apparel production drawing course and fashion design product development class for more information. For beginners, feel free to try our Seam and Stitch 101 to first build that necessary foundation. Our online fashion designing programs are taught by global fashion designers, each with their own wealth of experience. So, fret not, even if you’re not experienced!
This advance course covers art of production drawing to scale using a systematic approach. You will get systematic guidance on how to measure garments and transfer them into technical designs.
From understanding the customers to the creation of design, articulate the various elements of product development and how to meet these challenges in the shortest possible time while generating the right product at the right time.


1 Comment
This is really cool! I learned so much about upcycling and I’m excited to try it out. Would definitely try these. Thank you for sharing!